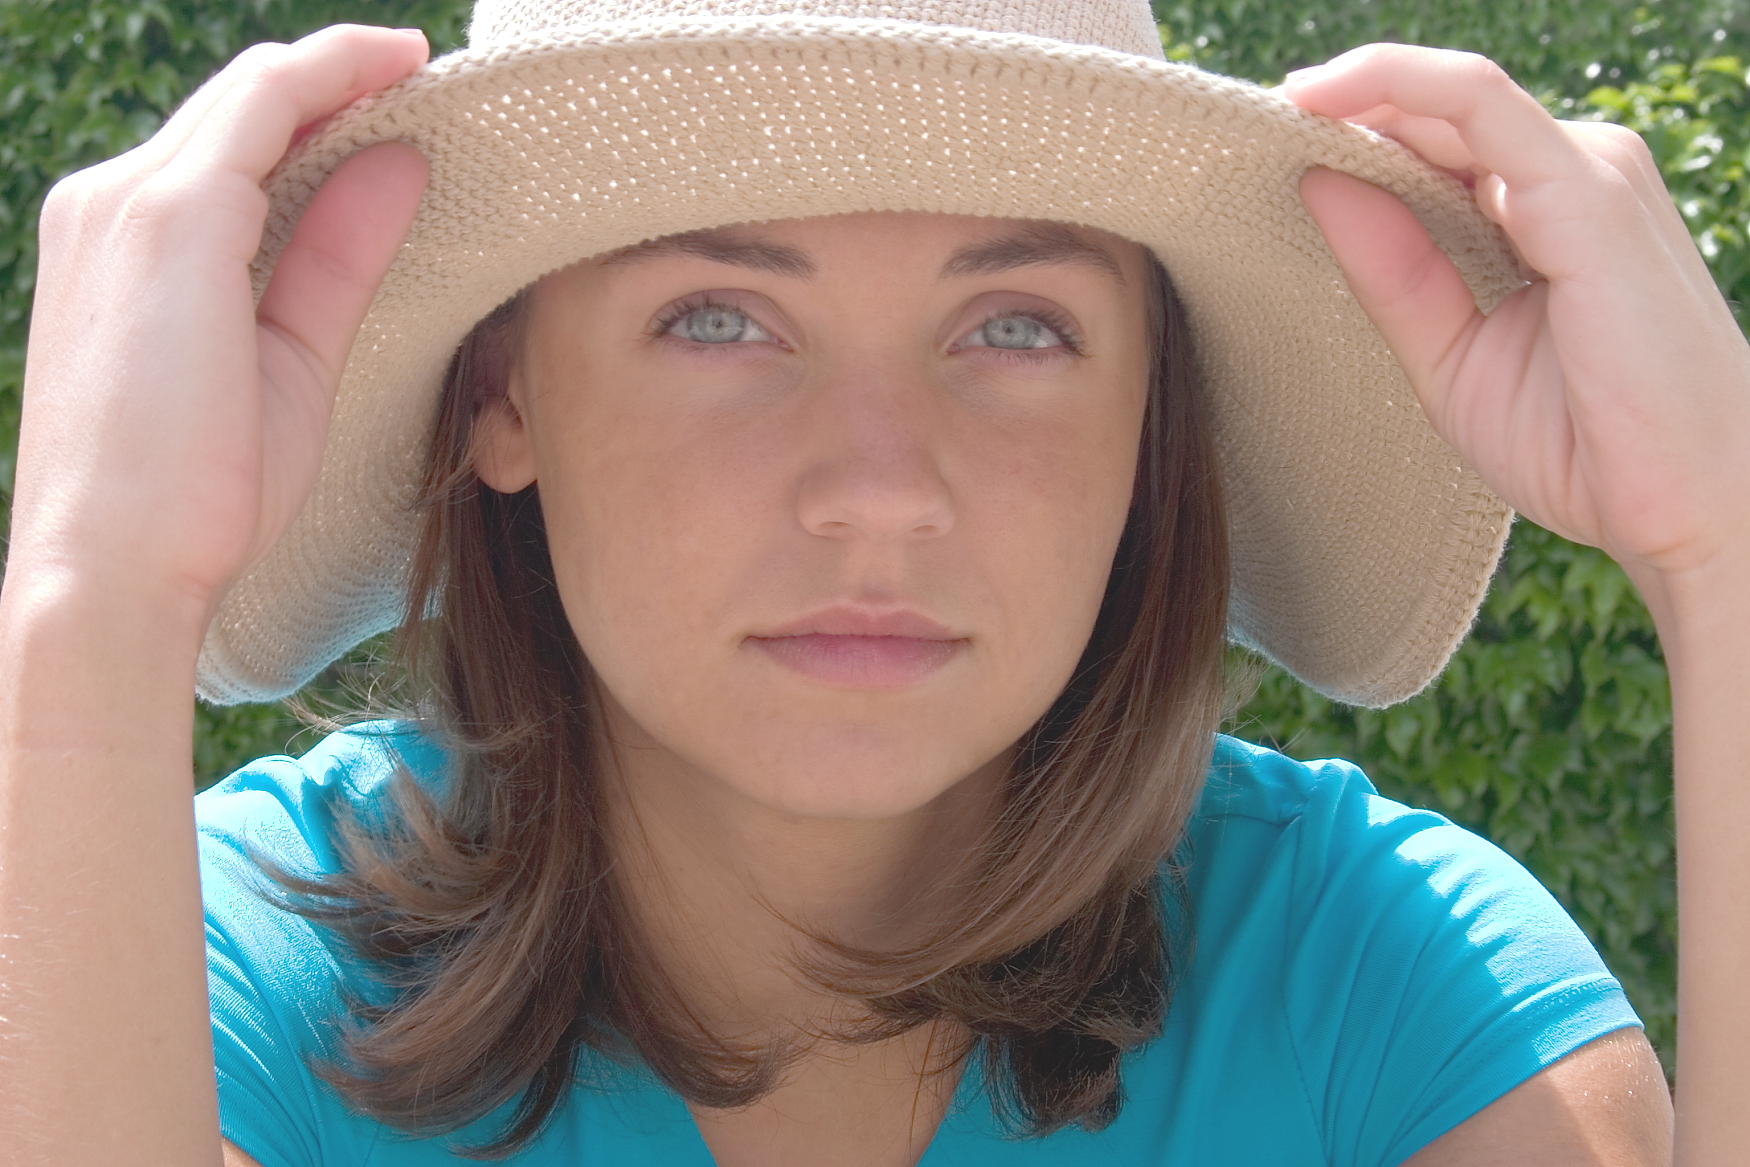
Sure, getting your kid to wear a hat is the first line of defense, but unless they’re wearing a sombrero, from their shoulders down will still be exposed. Like most people I see at the beach, I sprayed my kids down with waterproof sunblock from a can or slathered on some name brand SPF 1000–the higher the number the better right? Nope, the experts recommend no lower than SPF 30 and no higher than SPF 50.
Then I happened to read about the toxicity of the chemicals found in common sunscreens. BreastCancerFund.org tells me “octyl-methoxycinnamate, which is estrogenic and has thyroid hormone-disrupting effects, is found in over 800 sunscreens.” Great. Since my kids were babies I’ve been diligently disrupting their hormones…
Well, when I know better I try to do better, thank you Maya Angelou.
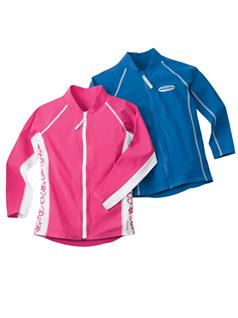
http://www.sunprecautions.com/ product/84300
But what would be an effective replacement? I could cover them in protective clothing, but then I’d never get them out of the house. Long sleeves at the beach? Maybe in fall and winter. But July?
“You want me to wear what? No thanks Mom, I’ll just stay in the air conditioning and play video games all day.”
So this summer I decided to get the kids involved in a little research test. We would try out a few of the “healthier alternative” sunblocks that we could actually afford and see which one(s) we liked.
Our criteria included: EWG rating, SPF, packaging, price, ease of application, feel of product on skin, color of skin after application, time before reapplication, water and sweat resistance, smell, and finally, did it prevent sunburn?
Our three test products:
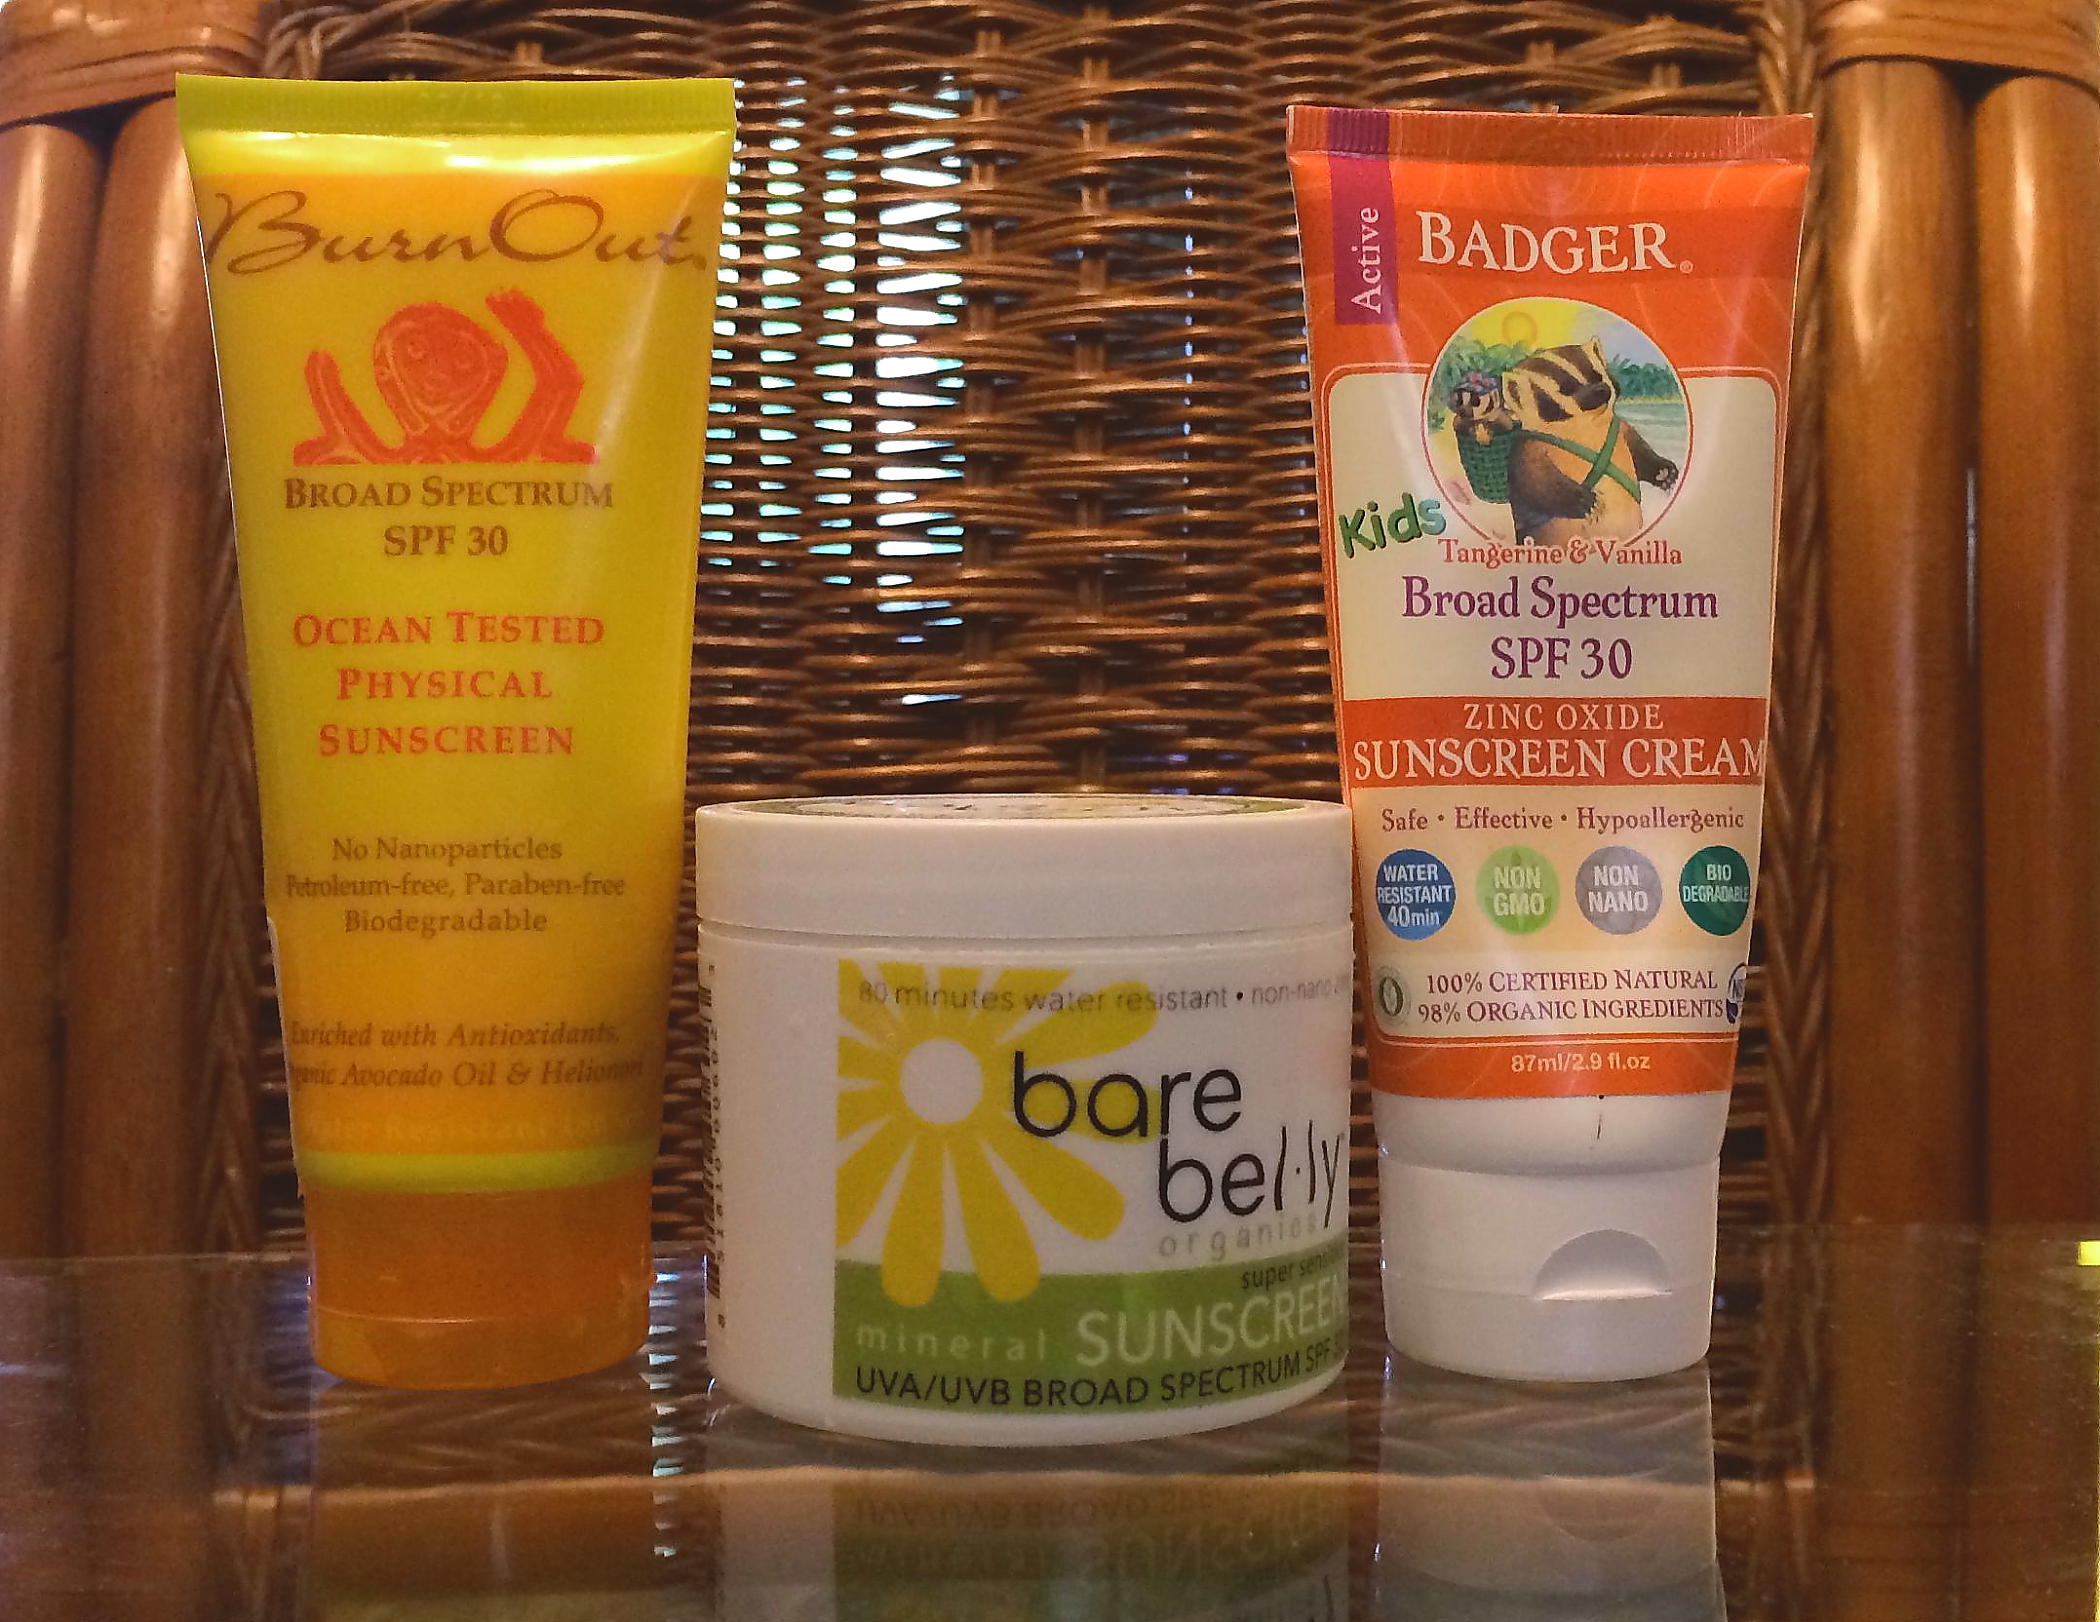
Three sunblocks chosen for a summer-long comparison
When and Where we tried them out? Summer Camps, Sports, Swimming, Beach, Gardening, and Outdoor Fairs all summer long…
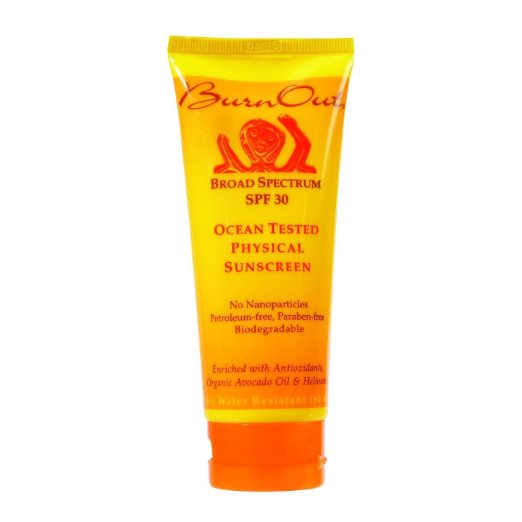
Our family gives Burnout 4.5 out of 5 stars
Our first Sunblock is BURNOUT OCEAN TESTED PHYSICAL SUNSCREEN
- EWG rating: 1 (the lower the better)
- SPF: 30
- Packaging: Easy to get the product out of the tube, fits in a purse, beach bag, back pocket
- Price: $13.99 for 3.4 OZ on Amazon
- Ease of application: Easy to put on and rub in
- Feel of product on skin: Doesn’t feel tacky or sticky, light, non-oily
- Color of skin after application: Pale gray at first, slight sheen later
- Time before reapplication: one hour
- Water and sweat resistance: water beaded up, sunblock ran into eyes when daughter played tennis, rubbed off on clothing very easily, washes off hands with soap and water
- Smell: no unpleasant smell, neutral
- Did it prevent sunburn: Yes!
- OVERALL RATING 4.5 out of 5 stars
Our second Sunblock is BARE BELLY ORGANICS MINERAL SUNSCREEN
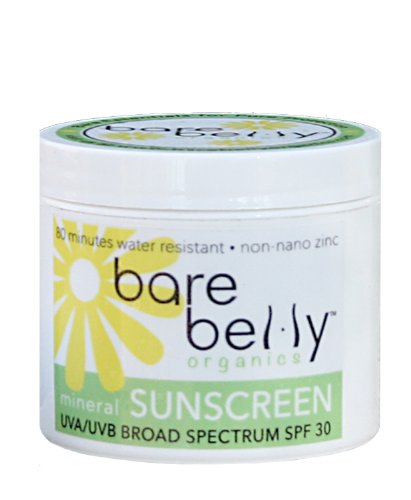
Our family gives Bare Belly a 2.5 out of 5 stars
- EWG rating: 1 (the lower the better)
- SPF: 30
- Packaging: Easy to get the product out of the tub, fits in a purse, beach bag, but not a back pocket
- Price: $17.95 for 4 OZ from Bare Belly Website
- Ease of application: Difficult to put on and rub in
- Feel of product on skin: Gritty, thick
- Color of skin after application: Chalky White, strong sheen later
- Time before reapplication: one hour
- Water and sweat resistance: water beaded up, sweat resistant, rubbed off on clothing, washes off hands with soap and water
- Smell: smells like lard
- Did it prevent sunburn: Yes! but my kids and I could not get past the consistency and smell of this stuff.
- OVERALL RATING 2.5 out of 5 stars

Our family gives Badger Kids a 3 out of 5 stars
And finally BADGER KIDS SUNSCREEN CREAM
- EWG rating: 1 (the lower the better)
- SPF: 30
- Packaging: Easy to get the product out of the tube, fits in a purse, beach bag, and a back pocket
- Price: $13.50 for 2.9 OZ from Amazon
- Ease of application: Easy to put on and rub in
- Feel of product on skin: Doesn’t feel tacky or sticky, light, non-oily
- Color of skin after application: White at first, slight sheen later
- Time before reapplication: half hour
- Water and sweat resistance: water beaded up, sweated off after 30 minutes, rubbed off on clothing, washes off hands with soap and water
- Smell: Dreamsicles, you know the orange and vanilla popsicles? Smells just like them. I loved the smell, but so did every bug within a 30 ft radius.
- Did it prevent sunburn: Yes! but if your the type of person that naturally attracts bugs this will only enhance your attractiveness, so you better wear bug repellant too.
- OVERALL RATING 3 out of 5 stars
So this little non-scientific study was how I got my kids to wear sunblock all summer! Hands down BurnOut was the winner. Keep in mind these three sunblocks are all “barrier” types, so it’s best to compare them against each other and not against the chemical- based sunblocks most of us are used to. Also, these descriptions and ratings are from my family based on our own unique experience. We were not compensated in any way and I purchased the products myself.
Have you used a barrier sunblock before? Which ones do you like?